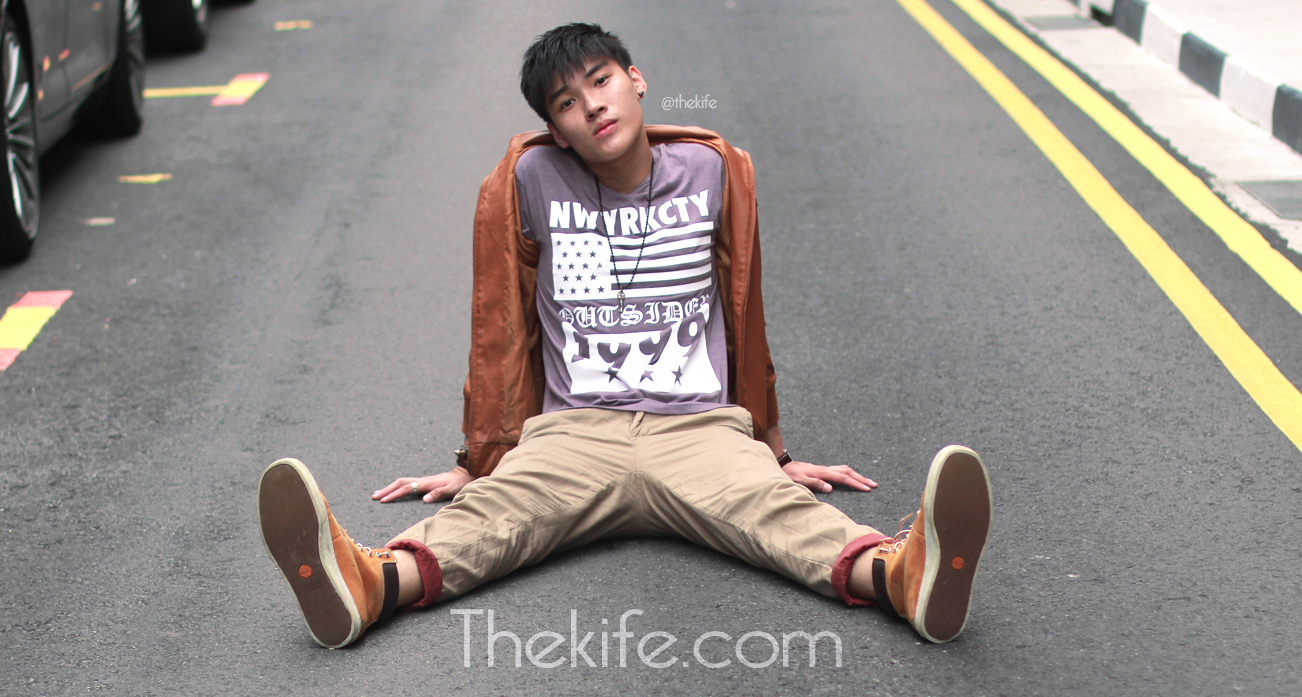
Many of my friends, asked me on how i edited my blog banner, so I've decided to teach you guys.
So the photo on top will be the final outcome of today's tutorial.
STEP 1
turn on your photoshop with the original photo
Okay as you can see the backdrop of this photo is very harsh, with like uneven painted surfaces.

STEP 2
Duplicate a new layer on top of the original one then head down to blur it.
Method:
Filter ---> Blur ---> Gaussin Blur
Radius -------> Magic number (12.5)

STEP 3
So Now you need to make your image clear as the layer on the top is very blurry
Method
1) Add a layer of mask over the blurred image, yes not the layer on the bottom (original)
2) Use your brush tool with a soft brush (not the hard brush) and start painting on the surface that you want to be CLEAR.
* Your brush colour must be BLACK in order to colour

STEP 4
Now you have a soft image, so you need to blend the colours.
Method:
Image ---> Adjustments ---> Selective Colour
Colour - RED
Cyan (+50)
Magenta (-30)
Yellow (-40)
Black (-48)

STEP 5
*This step only applies if your backdrop is still very harsh. So you need to Smooth it Down.
Method:
Use your Clone Stamp Tool at the tools bar. (Shortcut Key -S)
Click Alternate to select the part you want to use and left click the area you want to cover with.

STEP 6 (Optional)
Now you want a more professional look. head down to save your file in Jpeg, and open your Photoscape
Method:
Filter ---> Film Effect
Any effect you want. in my case i click on
Cross Proccess - low

So here is the BEFORE

And AFTER

So here are some more examples that i did:


Okay. Hope if helps! Byebye!! ^^
Here will be the download link for
http://www.photoscape.org/ps/main/download.php

No comments:
Post a Comment